
How to Build a DIY Adjustable Standing Desk
Create a custom, ergonomic standing desk using a high-quality motorized lifting frame and a solid wood desktop. This project allows you to tailor your workspace height to your specific needs while improving posture and productivity.
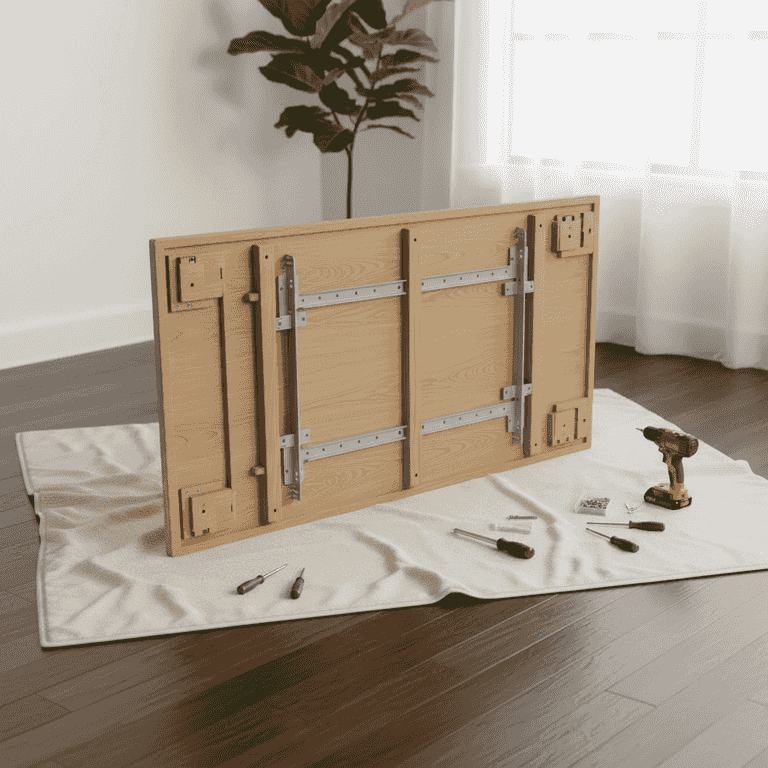
Prepare the workspace
10 minutesClear a large, flat floor area and lay down a blanket or rug to protect the desktop surface.
Placing the desktop face down on a soft surface prevents scratches during assembly. Ensure you have ample room to maneuver the frame components around the desktop.
Use the shipping box as a protective layer if you do not have a drop cloth.
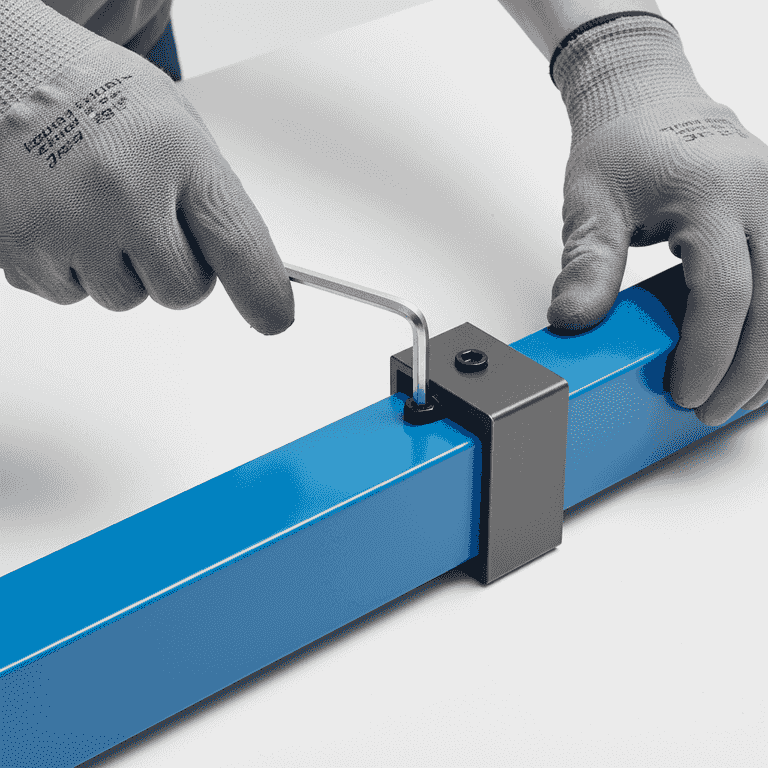
Assemble the lifting columns
30 minutesAttach the motorized lifting legs to the central frame crossbar according to the manufacturer's instructions.
Most motorized frames come in several pieces that must be bolted together. Ensure all bolts are tightened securely to prevent wobbling once the desk is upright.
Ensure the motor cables are not pinched between metal frame components.
Do not fully tighten the bolts until the entire frame is assembled to allow for minor adjustments.
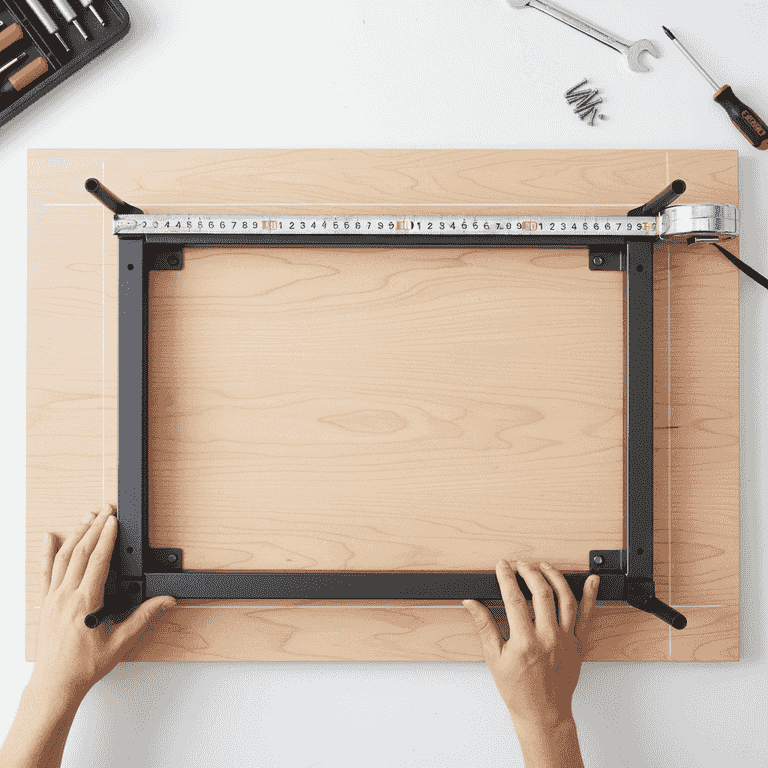
Position the frame on the desktop
15 minutesCenter the assembled frame onto the back of the desktop using your tape measure to ensure equal spacing from all edges.
Accurate centering is critical for the stability of the desk. Measure the distance from the frame feet to the edges of the desktop on all four sides to confirm it is perfectly aligned.
Pre-mark your holes with a pencil before drilling to ensure symmetry.
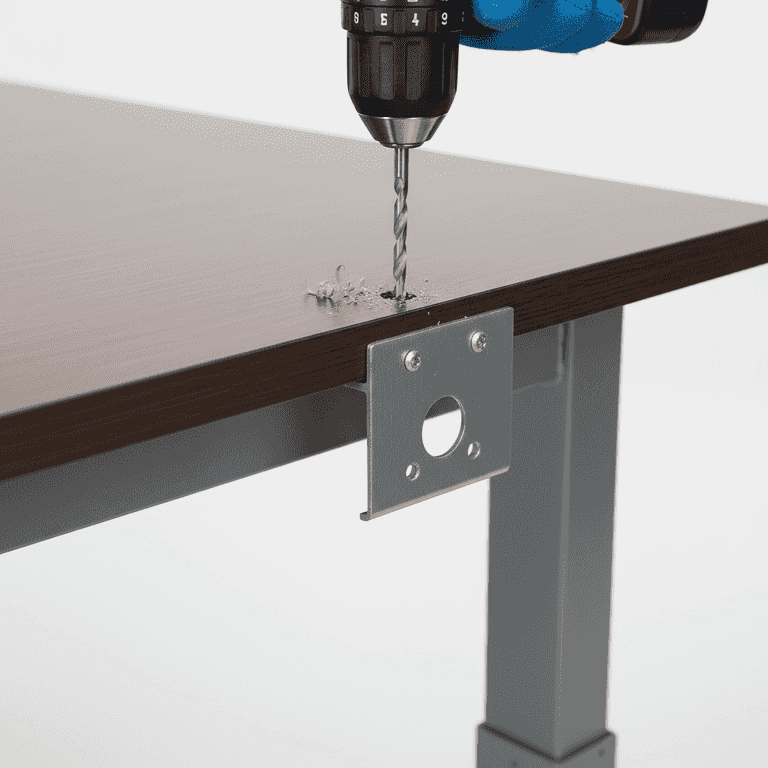
Secure the frame to the desktop
30 minutesDrill pilot holes into the desktop and screw the frame into place using the provided hardware.
Pilot holes prevent the wood from splitting. Be careful not to drill completely through the desktop; check the thickness of the wood and use a depth stop on your drill bit.
Verify that your screw length will not penetrate through the finished side of the desktop.
Use a piece of masking tape on your drill bit as a depth gauge.

Attach the control box and handset
20 minutesMount the motor control box and the height-adjustment handset to the underside of the desk.
Position the handset near the front edge of the desk for easy access. Route the cables neatly using adhesive cable clips to keep the underside of the desk clean.
Test the cable length before mounting to ensure the handset can reach the control box comfortably.

Flip and calibrate the desk
15 minutesWith a partner, carefully flip the desk upright and plug it into a power outlet to perform the initial calibration.
Most motorized desks require a reset process where you hold the 'down' button until the legs reach their lowest point. This synchronizes the motors.
Always use two people to flip the desk to avoid damaging the motor legs or straining your back.
Check for levelness once upright; adjust the leveling feet on the bottom of the legs if necessary.
Pro Tips
- ●Use a cable management tray to keep power strips and cords off the floor.
- ●Choose a desktop material like bamboo or solid hardwood for better durability than particle board.
- ●Consider adding a monitor arm to reclaim desk space and improve eye-level ergonomics.
- ●Apply a wood finish or sealant to the desktop before assembly to protect against spills.