How to Bleed Brake Lines
Bleeding your brake lines removes trapped air from the hydraulic system, restoring firm pedal feel and safe braking performance. This essential maintenance task ensures your vehicle stops reliably by maintaining fluid pressure.
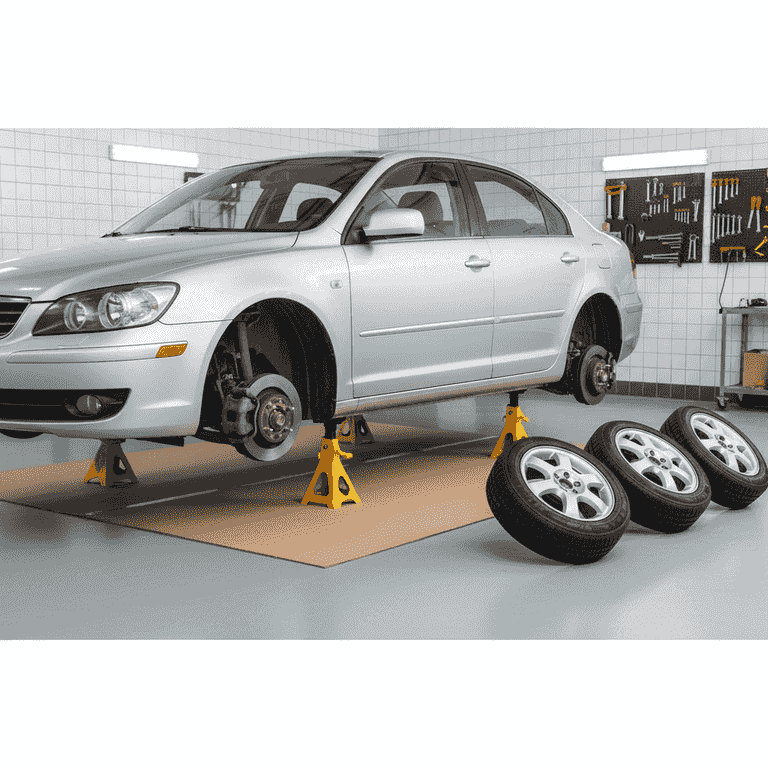
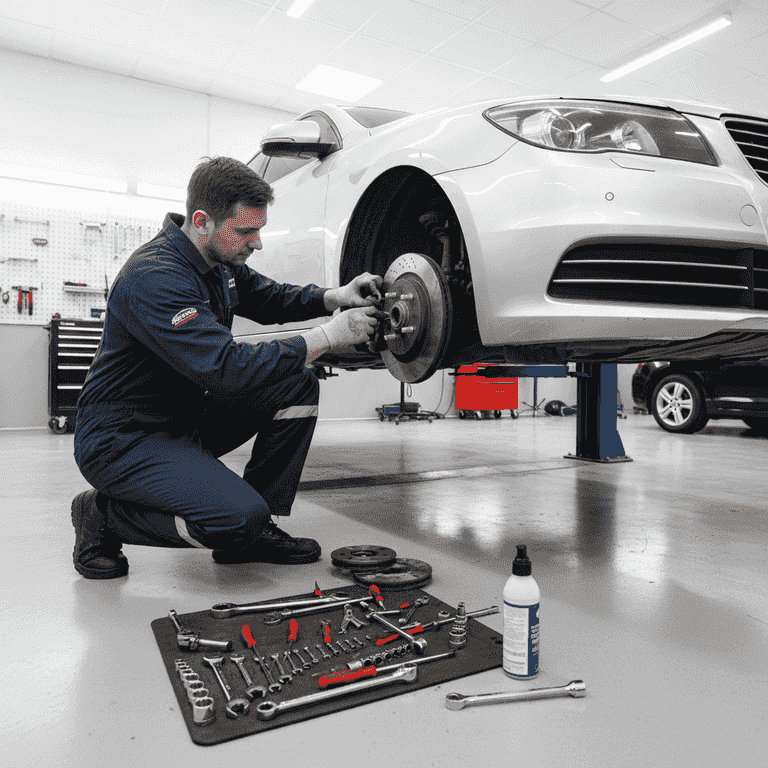
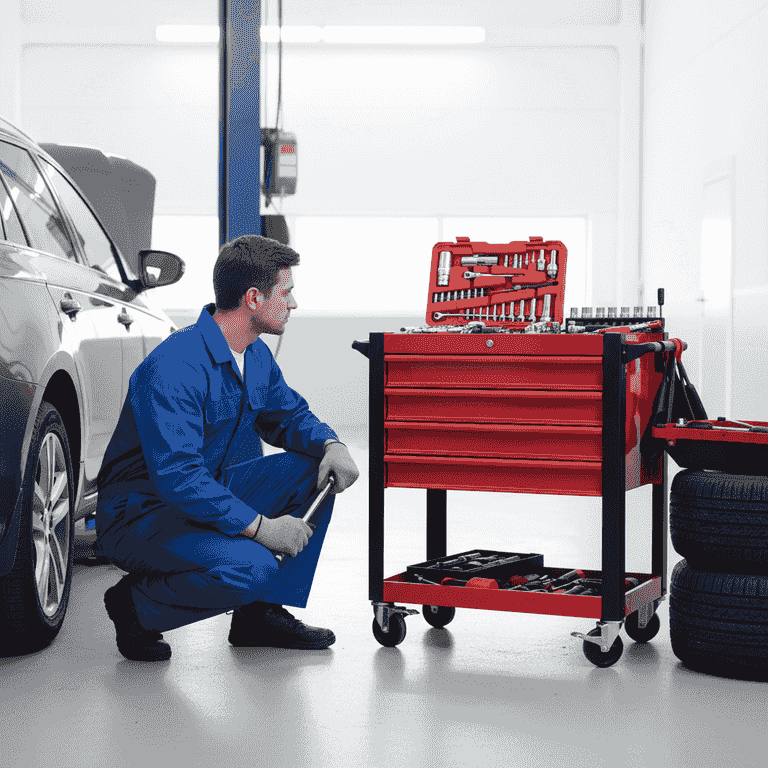
Prepare the vehicle
15 minutesLift the vehicle using a jack and secure it firmly on jack stands before removing the wheels.
Accessing the brake calipers requires removing the wheels. Ensure the vehicle is on a level surface and the parking brake is engaged.
Never rely solely on a hydraulic jack; always use jack stands.
Check your owner's manual for specific jack point locations.
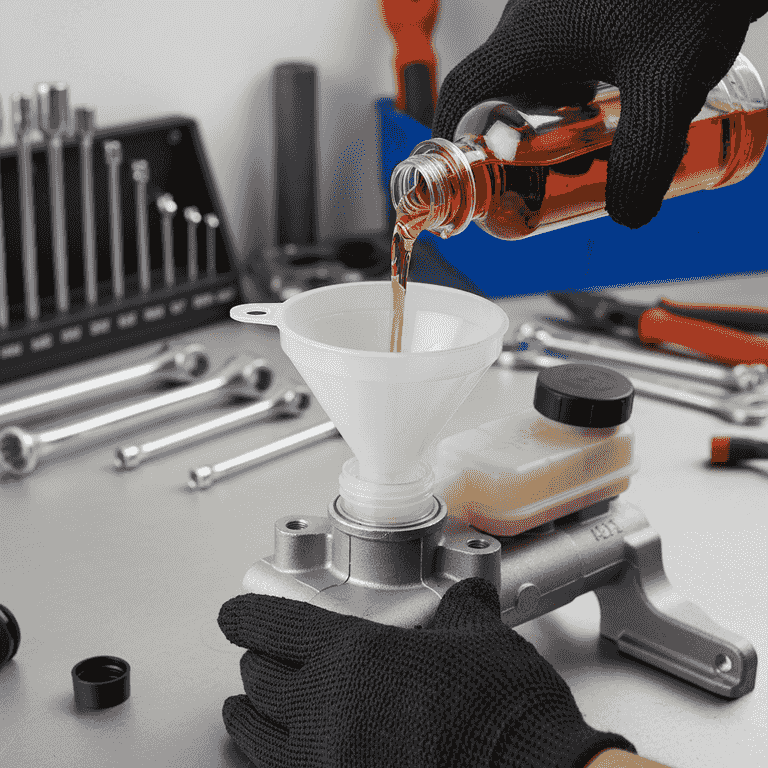
Check the master cylinder reservoir
5 minutesLocate the brake fluid reservoir under the hood and top it off with fresh brake fluid.
The reservoir must remain full during the entire process to prevent air from entering the system. Check the cap for the correct fluid type (e.g., DOT 3 or DOT 4).
Do not let the fluid level drop below the 'MIN' line, or you will introduce more air into the system.
Clean the reservoir cap area before opening to prevent dirt from falling in.
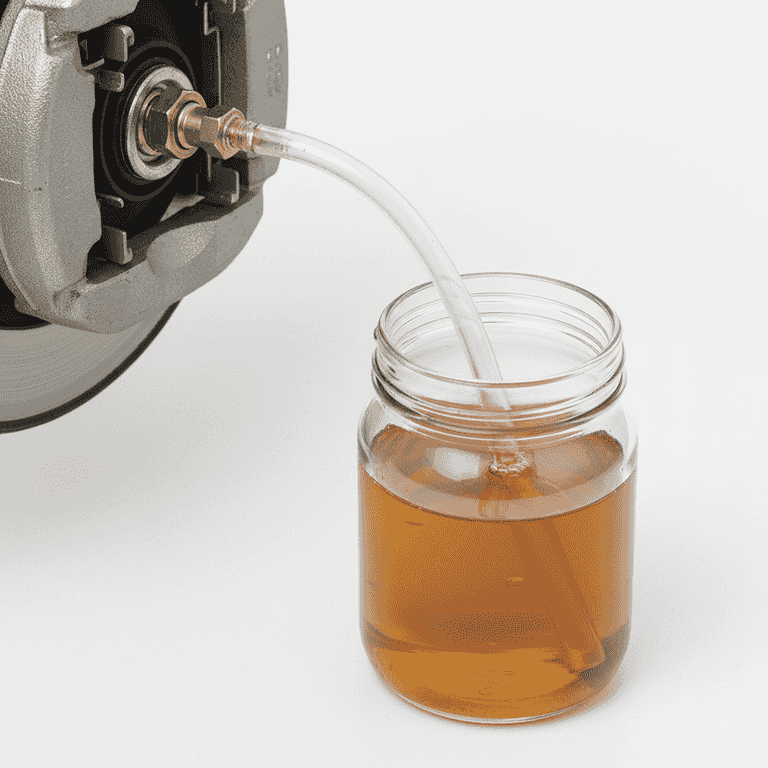
Connect the tubing to the bleeder screw
5 minutesAttach the clear plastic tubing to the bleeder screw on the brake caliper furthest from the master cylinder.
Start with the furthest wheel to ensure all air is pushed through the entire length of the brake line. Place the other end of the tube into the catch container.
Submerge the end of the tube in the catch container with a small amount of fluid to prevent air backflow.

Pump the brake pedal
2 minutesHave an assistant pump the brake pedal several times and then hold it down firmly.
The assistant builds pressure in the system. Instruct them to shout 'holding' once the pedal is fully depressed.
Communicate clearly with your assistant throughout the process.
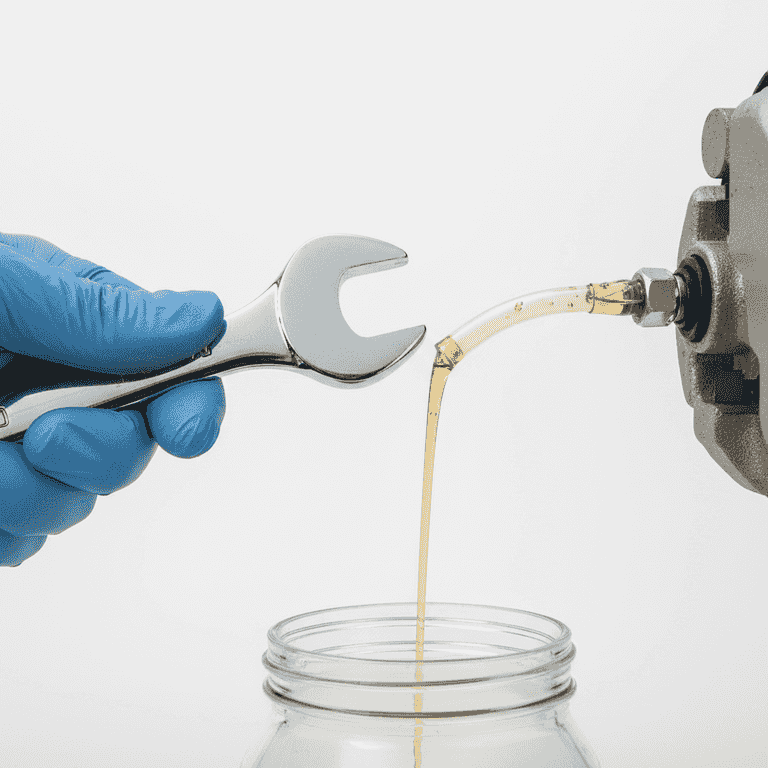
Open the bleeder screw
3 minutesLoosen the bleeder screw with your wrench to allow fluid and air bubbles to escape into the tube.
As the screw opens, the pedal will sink to the floor. Keep the screw open just long enough for the flow to slow down, then tighten it immediately.
Do not let the assistant release the pedal until the screw is tightened.
Watch the tubing for air bubbles; repeat until no bubbles appear.
Repeat for all wheels
30 minutesRepeat the pumping and bleeding process for each wheel, moving from furthest to closest to the master cylinder.
The typical sequence is rear-passenger, rear-driver, front-passenger, then front-driver. Periodically check the master cylinder reservoir to ensure it stays topped off.
Always keep the master cylinder reservoir full between wheels.
Pro Tips
- ●Always use a flare-nut wrench on bleeder screws to prevent rounding off the heads.
- ●If the pedal still feels 'spongy' after bleeding, you may have air trapped in the ABS module, which might require a diagnostic tool.
- ●Never reuse old brake fluid; always dispose of it at a local recycling center.
- ●If a bleeder screw is seized, apply penetrating oil and let it sit for an hour before attempting to loosen it.